
Is your new Nest doorbell not recording video? We know how to fix it! It’s frustrating when your Nest doorbell stops recording videos.
The error often indicates a problem with your internet connection or Nest Aware subscription.
To get your Nest doorbell to continue recording videos, restart it and reconnect it to your WiFi via the Nest or Google Home app. Changing some of your doorbell settings will help resolve this.
Let’s dive into all the details!
10 Proven Fixes for Nest Doorbell Not Recording Video Error
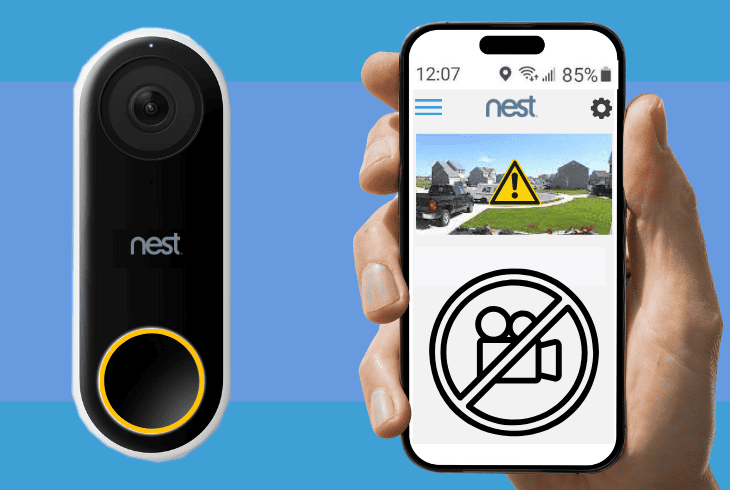
Here are 10 proven solutions to fix your Nest doorbell that isn’t recording videos.
We arranged them from easiest to most complex.
#1: Check Your Internet Connection and Power Cycle
The first thing you should do is check your internet connection.
To do this, open the Google Home app on your phone and tap on your doorbell’s tile.

You should see a WiFi icon at the upper right corner of the screen.
- If the icon is green, your doorbell has a good internet connection.
- If the icon is yellow, your doorbell has a weak connection.
- If the icon is red, your doorbell has no connection.
Power cycle your doorbell and router if you have a weak connection with these steps:
- Unplug the router from the power outlet.
- Wait for 30 seconds.
- Plug your router back in and wait for it to reconnect to the internet.
- Press and hold the button on the back of your doorbell for 15 seconds until it chimes.
- Release the button and wait for your doorbell to restart.
- Reconnect your doorbell to the WiFi network.
- Check if your Nest doorbell is recording videos again.
Pro Tip: Before power cycling your doorbell and router, ensure your internet service provider is not experiencing outages.
#2: Soft Restart Your Nest Doorbell

If power cycling doesn’t work, soft restart your Nest doorbell to reboot your device and clear some settings.
It resolves minor issues or refreshes the doorbell’s performance without affecting its settings and data.
To soft restart your doorbell, follow these steps:
- Open the Google Home app on your phone.
- Tap on your Nest doorbell’s tile.
- Tap Settings Device.
- Select Device Information.
- Tap on Restart Device.
- Tap on Restart Device again to confirm.
- Wait for your doorbell to restart and reconnect to the WiFi network.
Note: Monitor your doorbell’s performance to see if the issue has been resolved.
#3: Ensure Your Nest Aware Subscription is Active
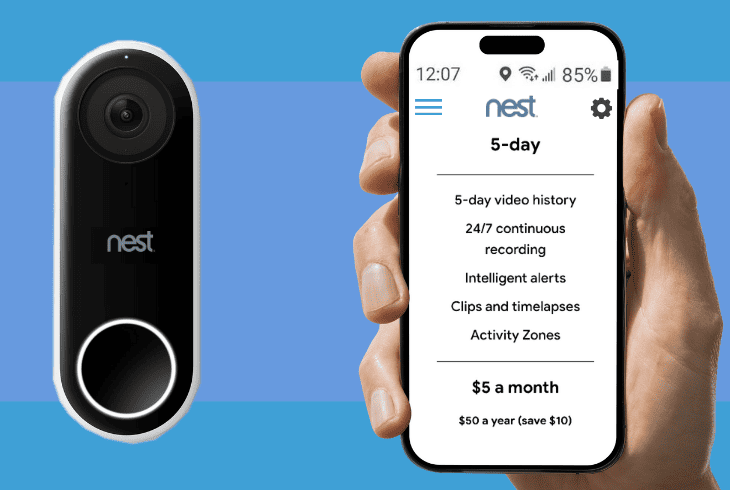
Check your Nest Aware subscription if you still have a “My Nest doorbell is not recording video” problem.
You need an active and valid subscription to record videos and access Nest features.
To check the status of your Nest Aware subscription, here’s how you do it:
- Launch the Nest app on your device.
- Tap on your Nest doorbell’s tile.
- Tap Settings, then Nest Aware.
- Select Manage Subscription to see your subscription details.
- See the mark next to your subscription.
- A green checkmark means your subscription is active.
- The red exclamation mark means it is expired or canceled.
If your subscription is expired or canceled, renew it or sign up for a new one.
To do this, tap on the red exclamation mark and follow the instructions on your screen.
#4: Free Up Storage Space on Your Nest Aware

If you have a Nest Aware subscription, ensure your account has enough storage space.
Otherwise, you won’t be able to record new videos or access your deleted videos.
To free up storage space on your Nest Aware, here’s how to do it:
- Open the Nest app on your smartphone or tablet.
- Tap the camera or doorbell that you want to delete videos from.
- Tap the Event History button.
- Select the video clip you want to delete.
- Tap the Delete button.
- Tap Delete again to confirm.
Note: Deleted video clips are moved to the trash can for 30 days. After 30 days, they will be deleted permanently.
#5: Lower the Video Quality on Your Recordings
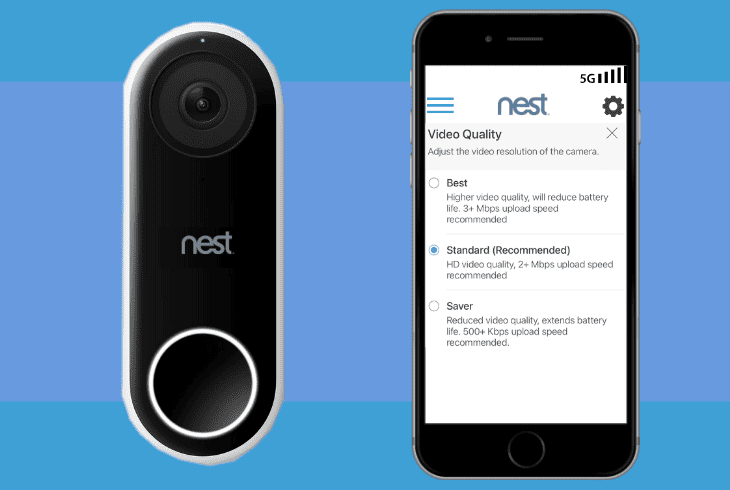
Lowering the video quality of your recordings helps reduce the bandwidth and usage data of your doorbell and improves its performance.
You should do this if your Nest doorbell issue persists, even with a good internet connection and ample storage space.
- Open the Nest app on your smartphone or tablet.
- Tap the camera or doorbell you want to lower the video quality for.
- Tap the Settings button.
- Select Video Quality.
- Choose Medium or Low, depending on your preferences.
Tip: Consider regular backups to prevent data loss and reset your video quality to higher quality settings if necessary.
#6: Activate Your Nest Doorbell’s Event Recording
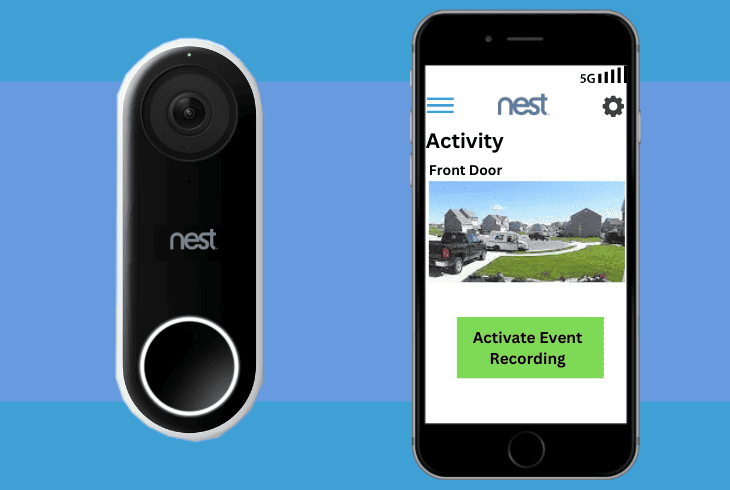
If you want your Nest doorbell to record videos when it detects motion or sound, enable the Event Recording feature.
This feature allows your doorbell to record short clips of events and store them in your video history.
To activate your Nest doorbell’s Event Recording, follow these steps:
- Open the Nest app on your smartphone or tablet.
- Tap the Nest Doorbell you want to enable the feature for.
- Tap the gear icon or Settings button.
- Tap Event History.
- Toggle the Event Recording switch to ON.
- Tap the checkboxes next to the types of events you want your Nest doorbell to record.
- Tap the Back button to save your changes.
Pro Tip: Regularly check your recorded events to ensure your Nest doorbell is capturing
Important activities as expected.
#7: Increase the Sensitivity of Your Motion Settings
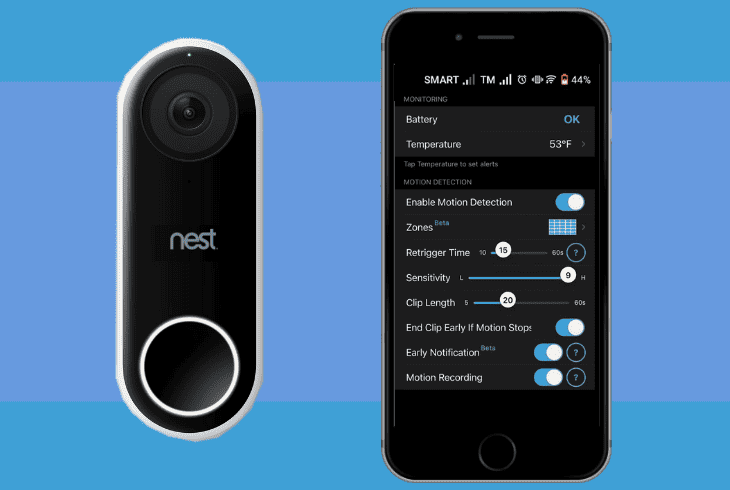
If your Nest doorbell won’t record video, increase the sensitivity of your motion settings.
This will help your doorbell to detect more motion in its view and trigger more recordings and notifications.
To make your doorbell record more videos and capture more events, follow these steps:
- Open the Nest app on your device and sign in to your account.
- Tap on the Nest Doorbell you want to adjust the motion sensitivity for.
- Tap on Settings or Device Settings.
- Navigate to Motion or Motion Settings.
- Slide the sensitivity level to the right to increase the sensitivity.
- Tap Save or Apply to confirm your changes.
Note: The higher the sensitivity level, the more likely your Nest doorbell will detect motion and send notifications. However, this will also increase the number of false alerts.
#8: Clear the Nest App Cache on Your Device
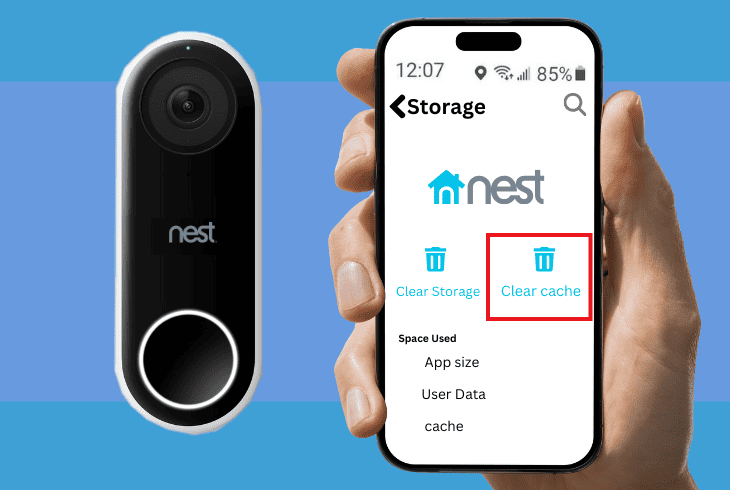
Clearing the Nest app cache on your device helps remove corrupted or outdated data that interferes with your doorbell’s functionality.
Here’s how to do this on various devices.
iPhone
- Go to Settings.
- Tap on General.
- Select iPhone Storage.
- Scroll down and find the Nest app in the list of apps.
- Tap Offload App.
- Tap Offload App again to confirm.
- Tap Reinstall to install the Nest app on your device again.
Android
- Go to Settings.
- Tap on Apps & Notifications.
- Select See All Apps.
- Find and tap the Nest app in the list of apps.
- Tap Storage.
- Select Clear Cache.
- Select Clear Data.
- Tap on OK and restart your device.
Note: Clearing the cache will not affect your Nest account data and settings.
#9: Update Your Doorbell’s Firmware
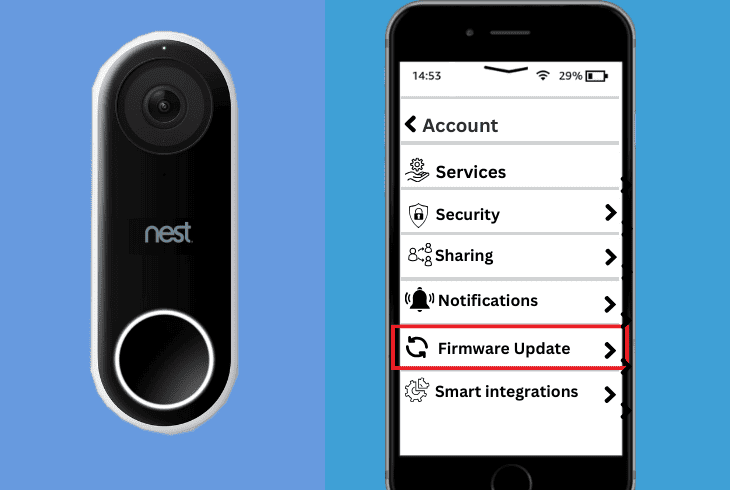
Outdated or corrupted firmware causes issues with your Nest doorbell’s functionality.
You must update your device’s firmware to the latest version to ensure optimal performance and security.
Here’s how to do this:
- Open the Nest app.
- Tap on the Nest doorbell you want to update the firmware for.
- Tap on Settings.
- Select Device Info.
- Tap Software.
- If an update is available, tap Download and Install.
- Once the update is complete, your Nest doorbell will restart.
Note: Ensure your Nest doorbell is connected to the internet.
#10: Optimize Your Doorbell’s Activity Zone

If you have a Nest Aware subscription, optimize your doorbell’s activity zone so it’s able to detect motion in the right places.
This way, your doorbell records relevant videos. To do this, follow these steps:
- Open the Nest app.
- Tap the Nest doorbell you want to optimize the activity zone for.
- Tap Settings.
- Tap on Activity Zones and select the one you want to edit.
- Use your finger to drag the points of the zone to change its size and shape.
- Tape the Save button.
Tip: Avoid placing an activity zone in areas with lots of background movement. If you have a large property, create multiple activity zones.
Contacting Nest Support also helps ensure you’re not dealing with a hardware issue that might need repairs or replacement.
Quick Recap
Thus, a Nest doorbell not recording video is due to issues with your internet connectivity or incorrect device settings.
Change your settings and make them more sensitive so they record videos. You also want to remove old recordings to gain more storage space.
- SimpliSafe Doorbell Not Flashing White? (Quick Fix Guide) - April 30, 2024
- SimpliSafe Keypad Out Of Range? (Proven Ways to Fix) - April 30, 2024
- Kasa Plug Change WiFi – (5 Easy-to-Follow Steps!) - April 30, 2024
