Getting a Shark robot vacuum obstruction error can be confusing, as, at times, your robot does not appear to have any obstructions.
This error message can also be caused by other factors that aren’t as evident. Even if this is your case, do not worry; we have you covered.
To fix your Shark robot vacuum getting an obstruction error, start by checking the brushes for debris and entanglements. Next, check the wheels for any issues.
Now that you know a couple of the fixes we will try for the Shark robot, let’s first examine what causes this obstruction error.
Why Does My Shark Robot Vacuum Have an Obstruction Error?

If you are getting an obstruction error on your Shark app or the robot itself, it won’t resume normal cleaning until you fix it.
The most common reason for this error is that some foreign object has lodged itself, and an internal sensor is detecting some debris present.
Here are a few of the more frequent causes of Shark robot vacuum obstruction errors:
Now that you are more aware of the underlying causes of the obstruction error let’s try out some fixes for your Shark robot device.
How To Fix Shark Robot Vacuum Obstruction Error
Tip: It's not suggested to pick up your Shark robot while it's running because its positioning can get distorted.
Solution #1: Check and Clean the Shark Robot Brushes

Shark robot vacuum says obstruction error is perhaps most frequently caused by a brush that has been entangled in hair or other particles and can’t spin freely.
If this happens, your Shark will detect there is abnormal resistance and issue an obstruction alert.
Here are the steps to ensure your Shark robot brushes are not obstructed:
- Make sure your Shark robotic vacuum is turned off for safety.
- Carefully remove the main brush and side brushes from your Shark robot vacuum.
- Look for hair, strings, or any debris tangled around the brushes.
- Use scissors to cut away tangled debris and a brush to clean off dust.
- Ensure the bearings on the brushes are not stuck and can rotate freely.
- Once cleaned, reattach the brushes to your Shark Robot vacuum cleaner.
- Turn on the vacuum to see if the obstruction error has been resolved.
You can add a few drops of refined machine oil to the wheel bushings if they make squawking sounds after you cleaned them thoroughly.
Note: For optimal use, it is recommended to replace your Shark robot filter every month, depending on usage.
Solution #2: Clear the Dustbin and Filters

Shark robot vacuum error 2 obstructions can also be caused by the dustbin being too full and overflowing or the filter being dirty.
This can cause your Shark robot not to pick up dust and must be serviced before use.
Here are the universal steps to clear your Shark robot dustbin and bin filter:
- Turn off and unplug your Shark automated vacuum before starting.
- Detach the dustbin from the Shark robot vacuum.
- Empty all the contents of the dustbin into a trash can.
- Remove filters and wash them under mildly hot water to remove any dirt.
- Make sure the filters are completely dry before reinserting them.
- The filters must also snap or lock into place, indicating correct placement.
- Put the filters back and reattach the dustbin to the Shark robot vacuum.
- Power on the vacuum and check if the error persists.
Note: Always buy your replacement Shark robot filters that are compatible and from reputable sellers.
Solution #3: Check for Wheel Obstructions

As your Shark robot has sensors around the wheels, if it detects that they aren’t spinning or have difficulty moving, it could send an obstruction alert.
To clear a jammed wheel situation, you have to manually clean them until they move freely.
Here is a quick method to fix your Shark robot wheels from obstructions or debris:
- Power off and unplug your Shark robot device from the dock.
- Look closely at the wheels for any stuck debris or objects.
- Clear any obstructions found around or in the wheels.
- Also, check the two big wheels on the sides and the smaller one in front as well.
- Ensure each wheel can move freely without hindrance, and examine the wheelbase.
- Wipe around the wheel area to the sides of the wheel to remove any accumulated dirt.
- Make sure no part is obstructing the wheel path.
- Restart your Shark robot vacuum to test if the error is resolved.
Note: If the wheels still don't move, you might have to remove the bottom cover panel to access and clean them more thoroughly.
Solution #4: Reset the Shark Robot Vacuum

Sometimes, the obstruction error message can be falsely triggered by a software glitch.
If you have serviced your robot and the message persists, you have to power cycle it to clear such temporary errors.
Here is a sure-fire way to reset your Shark robot, regardless of the exact model:
- Ensure your Shark robot vacuum is completely off.
- Disconnect your Shark robot vacuum from any power source or its dock.
- Leave the vacuum unplugged for about 10 minutes.
- Plug the Shark robot vacuum back into your power outlet.
- Power on your Shark robot vacuum after you confirm it’s sufficiently charged.
- Let the vacuum run a short cycle to check functionality.
- See if the obstruction error still appears.
Note: You can perform the power cycling procedure a couple of times to be certain it's not a software error.
Solution #5: Update the Shark Robot Vacuum Firmware

If your Shark robot is running on old software, there might be limited functionality or a mismatch between the Shark Robot app and the robot itself.
This can cause the robot to malfunction or otherwise not perform optimally.
Here is how to check that your Shark robot is running the latest possible firmware:
- Ensure your Shark robot vacuum is connected to your home Wi-Fi network.
- Launch the Shark Clean app on your smartphone/tablet.
- Tap on your Shark robot device from the main menu and scroll down.
- Look for any firmware updates available for your Shark robot vacuum.
- If available, download and install the latest firmware.
- Power off and then turn on your Shark robot vacuum.
After these steps, restart your Shark robot, turn it on, and monitor the Shark Clean app for any recurring error messages.
Note: Ensure that the network used for your Shark robot is not on the 5GHz bandwidth.
Solution #6: Inspect and Cleaning Sensors

As we mentioned at the start of this guide, if the sensors of your Shark robot themselves are dirty, they can send incorrect signals to your device.
This can raise multiple error messages, including the obstruction error.
Here is how to check and ensure that your Shark robot sensors are in optimal condition:
- Turn off your robot vacuum.
- Identify the sensors on your Shark robot vacuum.
- Their location can vary based on your exact model, so check your owner manual to see where they are.
- Gently wipe the sensors with a soft, dry cloth.
- Look for any signs of damage or scratches on the sensors.
- After cleaning, reassemble any parts, test your vacuum, and see if the obstruction error has been cleared.
Note: When using your Shark robot, ensure it's synched to the correct timezone for best calibration and accuracy.
Solution #7: Check the Charging Dock

An often overlooked potential fix for a Shark robot obstruction error is if the charging dock is not adequately serviced.
This can happen if there is dirt blocking the small charging plates from making proper contact.
Here is how to ensure your Shark robot can properly charge to its dock:
- Inspect the charging dock of your Shark robot vacuum for any obstructions.
- Remove any dust or debris from around the dock.
- Ensure the dock is properly plugged in and receiving power.
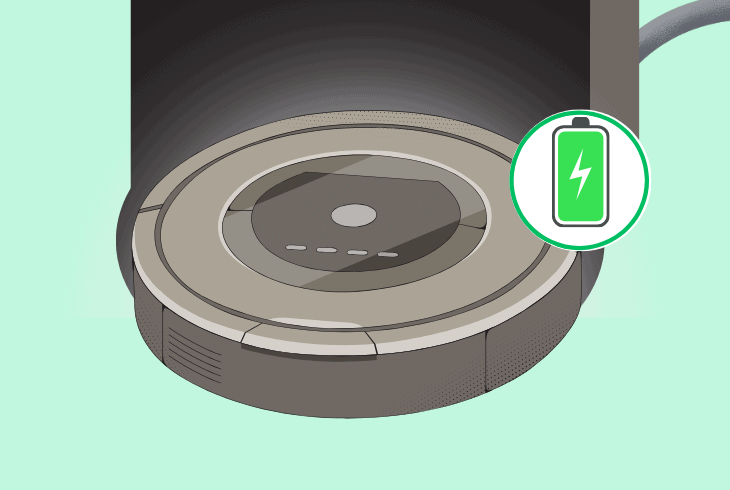
- Manually place the Shark robot vacuum on the dock and allow the vacuum to charge for a while.
- Remove the vacuum from the dock and check if it operates normally.
Note: Sometimes, relocating the dock can help with better robot detection.
Quick Recap
To fix the Shark robot vacuum obstruction error, start by diligently servicing the robot’s main brush and checking the wheels for obstructions.
Next, clear the dust bin and filters.
- SimpliSafe Doorbell Not Flashing White? (Quick Fix Guide) - April 30, 2024
- SimpliSafe Keypad Out Of Range? (Proven Ways to Fix) - April 30, 2024
- Kasa Plug Change WiFi – (5 Easy-to-Follow Steps!) - April 30, 2024
