
Is your Tapo camera not connecting to WiFi? Let us help you address and resolve this!
You’ll notice your camera acting up with on-and-off connectivity, a flashing light, or an error message.
Usually, these signs point to a hiccup in the network connection or some configuration glitch.
To get your Tapo camera to connect to WiFi, power cycle your router to refresh your connections. If the issue persists, reset your camera and set it up again to clear errors and glitches.
Alright, let’s discuss the solutions further.
Tapo Camera Not Connecting to WiFi – Proven Fixes that Work
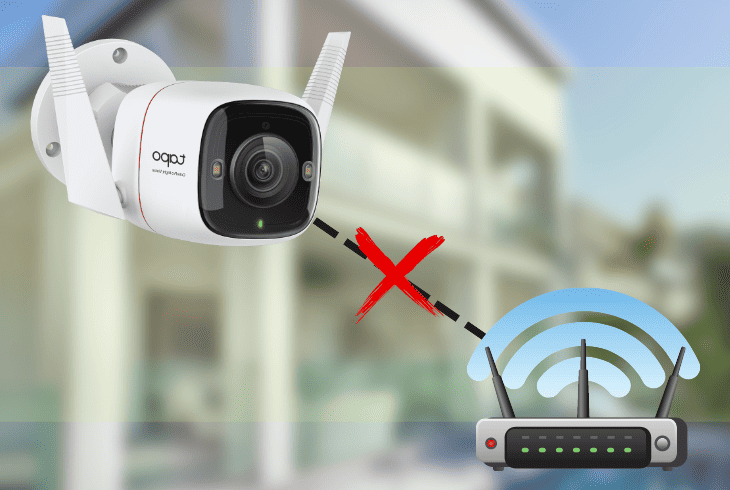
There are several reasons your Tapo camera faces connectivity issues.
Identifying and addressing these potential causes helps ensure your device’s stable and reliable connection.
- Signal interference from electronic devices or physical obstructions
- A temporary glitch in the camera’s configuration
- Changes in the WiFi settings
- You’re using 5 GHz bandwidth
In this article, we’ll talk about what’s causing issues with your Tapo camera and share some solutions.
But before we get into it, ensure you run through these basic troubleshooting steps.
Before You Start
Before starting any of the solutions below, let’s cover our bases.
Take a second to go through these four basic troubleshooting steps to solve minor issues.
- Make sure your Tapo camera is turned on
- Restart your Tapo camera
- Verify the WiFi password
- Check the signal strength and move closer
If these quick fixes don’t do the trick, let’s move on to the real solutions waiting for you!
1. Power Cycle Your Router to Refresh Connections

Your Tapo camera won’t connect to WiFi mainly because of a temporary glitch in its setup or interference from other devices.
Power cycle your router to refresh connections to address the issue. This involves turning off your router and then turning it on again.
Follow these steps to perform a proper power cycle on your router:
- Find your router and unplug it from the power outlet.
- Wait for about 30 seconds.
- Plug your router back into the power outlet.
- Wait another 2 minutes until your router finishes booting up.
- Connect your Tapo camera to your WiFi network again using the Tapo app.
Note: Before unplugging your router, power down all your gadgets. Give your router a breather, let it fully power down, and fire it back up.
2. Ensure Your Phone Connects to the Tapo Cam WiFi During Setup

The Tapo Cam WiFi serves as the temporary WiFi network your camera creates when it’s ready to be set up.
It’s the fastest way for you to share your phone’s WiFi connection to the camera so it connects to your permanent WiFi.
You must connect your phone to this network to pair your camera with your home WiFi network. Otherwise, your Tapo camera will not connect to your WiFi.
Add your camera to the list of devices first to ensure your phone connects to the Tapo Cam WiFi during setup.
Here’s how:
- Open the Tapo app on your phone.
- Give the plus icon a tap to add a new device.
- Pick your camera model from the list.
- Plug in your Tapo camera.
- Wait for about 30 seconds until the LED blinks red and green.
- Tap Next on the app.
Then, pair your Tapo camera with your home WiFi network by following these steps:
- Go to your phone’s WiFi settings.
- Tap the Tapo Cam WiFi Network and enter the default password (12345678).
- Go back to the Tapo app and tap Next to continue.
- After locating your camera, select your home WiFi network and input the password.
- Tap Next to start pairing your camera with your home WiFi.
- Once done, give your camera a name and a location, then tap Next to finish the setup.
Note: Make sure the LED stays solid green during the pairing. If it turns red, it means the pairing failed, and you need to try again.
3. Turn Off Your Phone’s VPN or VPN Software
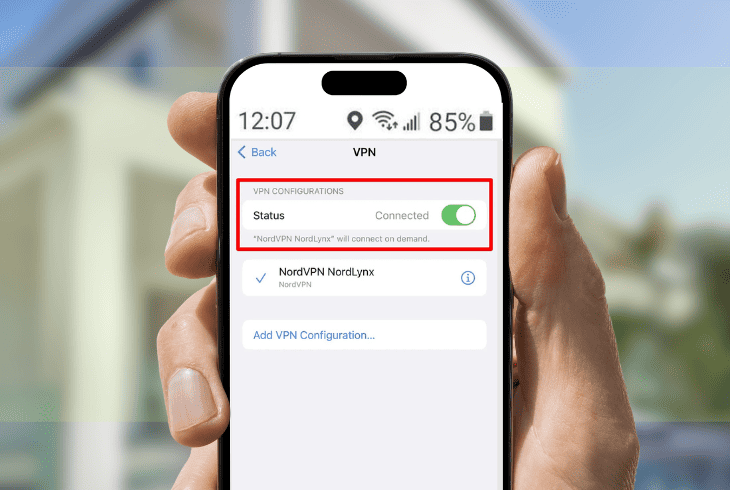
A VPN or VPN software sometimes leads to compatibility problems with specific apps and devices.
It occasionally interferes with the connection between your Tapo camera and WiFi, impacting their performance and functionality.
To fix this, turn off your phone’s VPN or VPN software. Here are the steps to do this, depending on your mobile device:
For iPhone users
- Go to Settings.
- Tap on General.
- Select VPN.
- Tap on the VPN that’s connected and toggle the switch to turn it off.
- Alternative: Delete the VPN profile by tapping the information icon and selecting Delete VPN.
For Android users
- Go to Settings.
- Tap on Network & Internet.
- Select VPN.
- Tap on the VPN that’s connected and select Disconnect.
- Alternative: Forget the VPN by tapping the gear icon and selecting Forget VPN.
After turning off your VPN or VPN software, connect your Tapo camera to your WiFi again using the Tapo app.
If the issue persists, proceed to the next solution we’ve got lined up.
4. Enable Local Network Permission on the Tap App
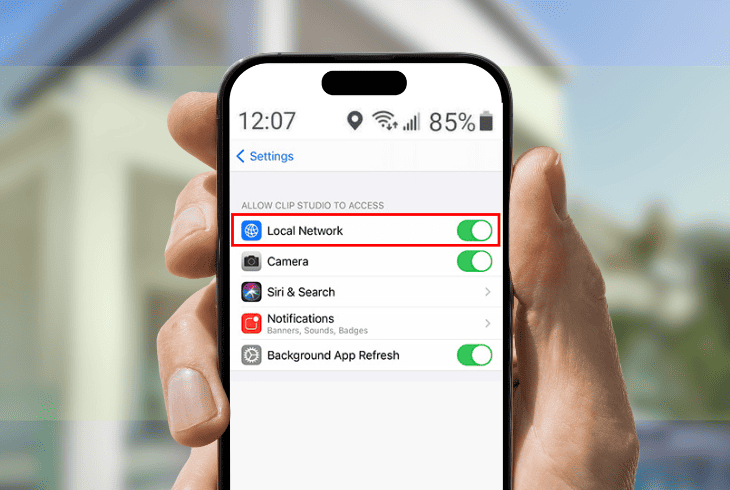
If you’re wondering, “Why won’t my Tapo camera connect to WiFi?” after performing the above solutions, the Tapo app might not have permission to access your local network.
This permission is necessary for the app to communicate with your camera and other devices in your home WiFi network.
If denied or disabled by default, enable it to fix the issue manually. To enable local network permission on the Tapo app, follow these steps:
For iPhone users
- Go to Settings.
- Tap on Privacy.
- Select Local Network.
- Look for the Tapo app and toggle the switch to turn it on.
For Android users
- Go to Settings.
- Tap on Apps & Notifications.
- Select Tapo.
- Tap Permissions.
- Look for Local Network, tap it and select Allow.
Note: Restart your Tapo app for the changes to take effect. If your Tapo camera is still not connecting to WiFi, move on to the next solution.
5. Disable the 5GHz Band on Your Router
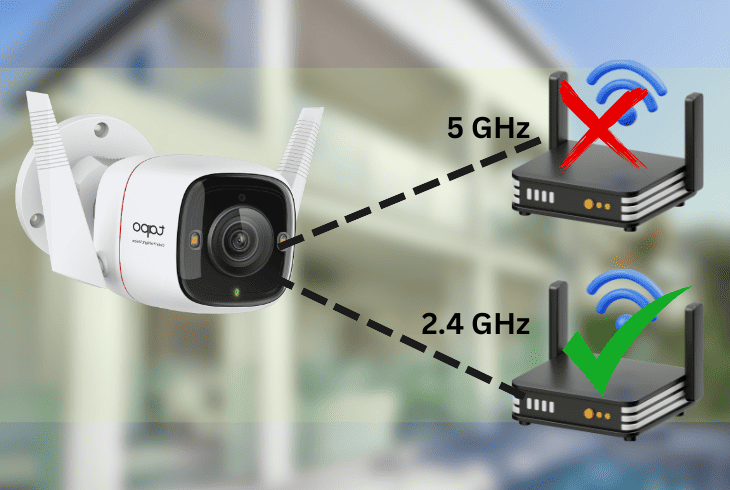
One more thing to check if your Tapo camera is not connecting to your WiFi – it’s using the 5 GHz band, which is not supported by the camera.
The 5 GHz band is a newer, faster WiFi frequency that delivers higher speeds and less interference.
However, your Tapo camera isn’t compatible with it and only connects to the 2.4 GHz band. To fix this, disable the 5 GHz band on your router.
Here are the steps to do this:
- Locate your router.
- Look for the model number and the default IP address.
- Open a web browser on your computer or phone.
- Enter your router’s IP address in the address bar.
- Press Enter to access your router’s web interface.
- Input the username and password.
- Once logged in, look for WiFi Settings or Wireless Settings section.
- Toggle the switch to disable the 5 GHz band or enable the 2.4 GHz band.
- Save the changes and exit the web interface.
Wait for a few minutes until your router applies the new settings and restarts the WiFi network.
Connect your Tapo camera to your WiFi again and see if the issue is resolved. If not, move on to the last solution.
6. Reset Your Tapo Camera

If all else fails and your Tapo camera is still not connecting to your WiFi, reset it and set it up again.
It wipes all your camera settings and data, returning to square one. Only go for this if none of the other fixes work.
Things you need:
- Paper clip or similar object
To reset your Tapo camera, follow these steps:
- Locate your camera and look for the reset button.
- Press and hold the reset button for 10 seconds using a paper clip or similar object.
- Release the button when the LED turns solid red.
- Wait for the LED to blink red and green, which means the camera has been reset.
- Follow the steps in solution #2 to set up your camera again.
If the issue persists, it’s time to contact Tapo customer support for some expert assistance.
Quick Recap
If you have a Tapo camera not connecting to WiFi, look for signs like on-and-off connectivity, flashing lights, or error messages.
The most likely culprit is a network disruption or a configuration glitch. To address the issue, power cycle your router and reset your camera if necessary.
For additional troubleshooting resources on Tapo camera issues, visit our blog!
- SimpliSafe Doorbell Not Flashing White? (Quick Fix Guide) - April 30, 2024
- SimpliSafe Keypad Out Of Range? (Proven Ways to Fix) - April 30, 2024
- Kasa Plug Change WiFi – (5 Easy-to-Follow Steps!) - April 30, 2024
